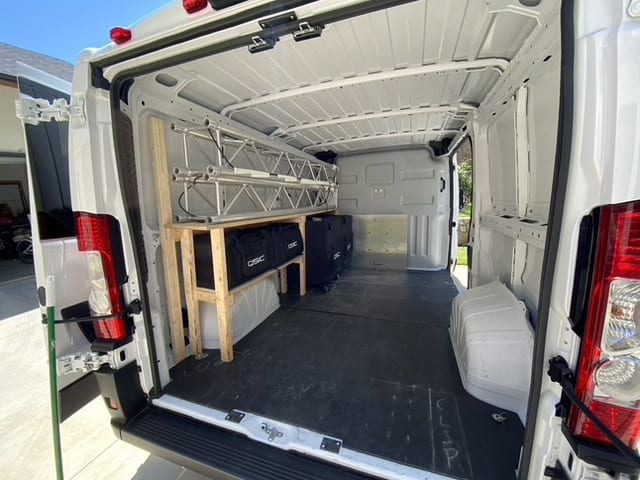
Here’s part 2 of my article on customizing a van for DJ needs.
Check the first post here.
You can just throw your gear in and head off to your first gig, right? Not so fast! Loading, securing, and protecting your gear is of utmost importance, and oh yeah, your personal safety is even more important!
Here’s what you’re going to need before you roll out:
Loading Ramp
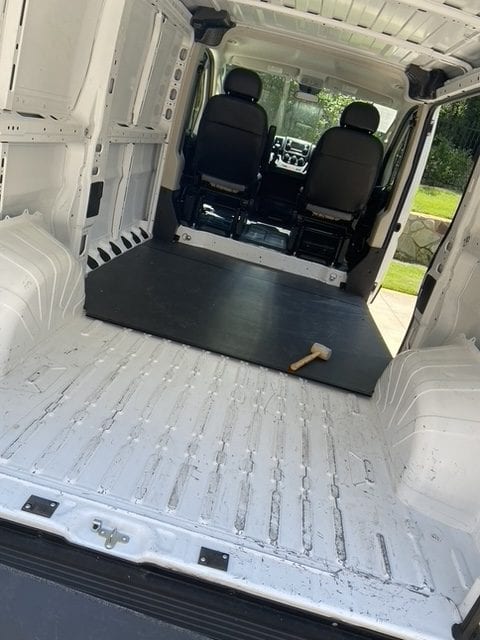
I spent a lot of time shopping for this one. Not only does my DJ Booth weigh 300-400 lbs, but 88-pound subs and cases of uplights seem to feel a lot heavier after an 8-12 hour event work day. I highly recommend securing a folding ramp (spring load optional) that bolts into the floor of your van, folds up, and straps in for easy travel. But remember that sketch I mentioned above? That’s right, be sure to account for your ramp as it will take up close to 2’ of depth in your cargo space. And remember that math? Well, what angle are you comfortable with climbing at the end of the night? Based on previous experience with my DJ booth in Uhaul trucks, I knew I needed something with an incline of no more than 12 degrees. So I went back to high school trigonometry, figured a right triangle with my deck height and angles, and calculated the 119” tri-fold ramp that I ended up with. (I needed a tri-fold to fit into my low roof edition).
Partition
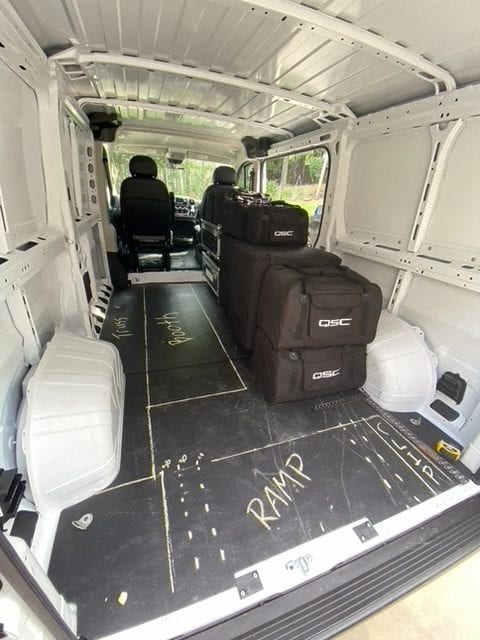
You’re going to need a partition that separates the cab from the cargo space. Based on my shopping experience, I’d highly recommend a partition made of composite material that allows for seat recline (consider this in your sketch too). This serves three purposes.
Provides safety to you the driver from any gear flying forward while driving
Provides another surface that equipment safety straps can be anchored to (see below)
Provides a much quieter cab so that you can enjoy conversations, music, podcasts, and phone calls while you drive.
Flooring
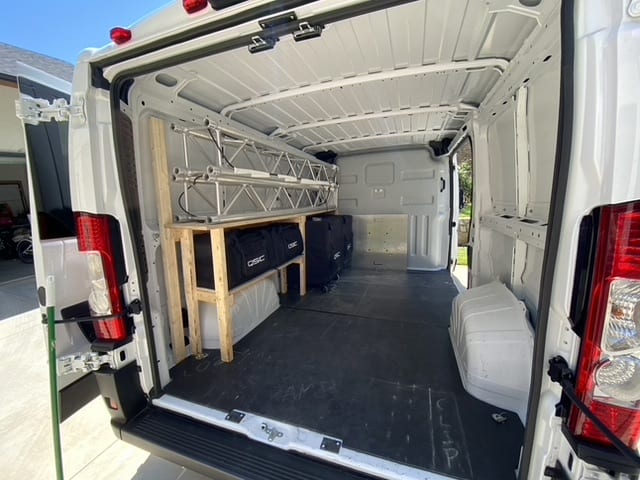
Those heavy subs and lighting cases aren’t going to roll well on ribbed metal floors. They’re also going to make a ton of noise and you really don’t want to slip on that floor when it’s wet!
Check out floor materials that are made of non-slip composite materials. They’re sturdy enough to roll heavy objects on, reduce noise in your vehicle, and are safe to walk on in all conditions. And if they get dirty? Just hose them down.
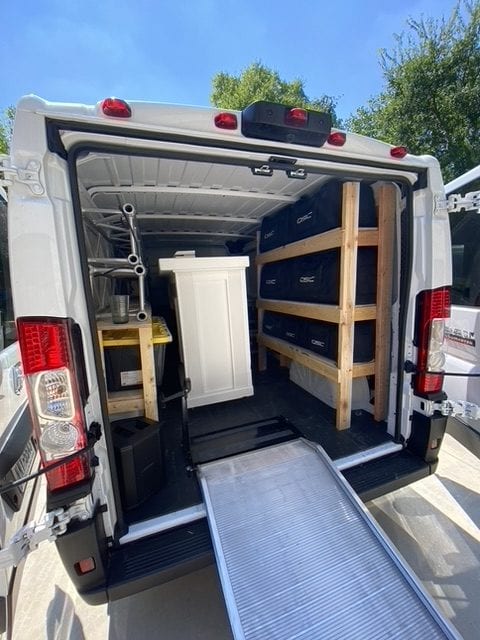
Shelving
Unless every piece of gear you own is in a heavy duty road case and will come out of the vehicle at every event, you’re going to want quick access to gear, and shelving is a great solution for that. While there are many pre-fab shelves on the market, you’ll probably find that most either don’t fit most DJ gear (such as speakers in totes) or can’t bear the load of have equipment. I opted to build my own shelves, which required learning how to use new tools such as Rivnuts that anchor into the pre-drilled anchor points that come standard in most cargo vans.
Anchoring and Secure Safety Straps
I’ve mentioned safety, right? It’s time to strap in. You’ll want to secure all of your gear so that it stays in place when you take those turns. For this, I used a variety of methods:
I mounted D-Rings into the shelves that hold my speakers and connected them with ratchet straps
For shorter shelves with lighter loads (plastic cable boxes), I actually bought some automotive seat belts and fastened them in for quick access
For heavy items such as my uplights cases, I actually used cobalt drill bits to drill through the floor of the van and anchor D-Rings that could be used with ratchet straps.
After a lot of studying options, learning about new tools, and shuffling things around, I have to say I’m very happy with how the van turned out. I never need to load gear for a gig anymore. Saturday mornings are spent hanging out with my family. And when I’m home?
There’s no gear to unload and no truck to return.
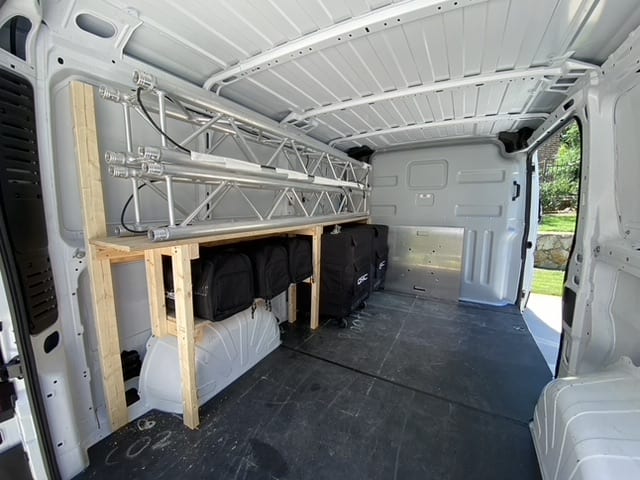
The van life is the good life, and I hope that some of you can enjoy it too.
The owner of DQB Entertainment in Dallas, Dan Quinn once pranked the kids in his DJ School by informing them that Marshmello and Imagine Dragons had been removed from the library.


